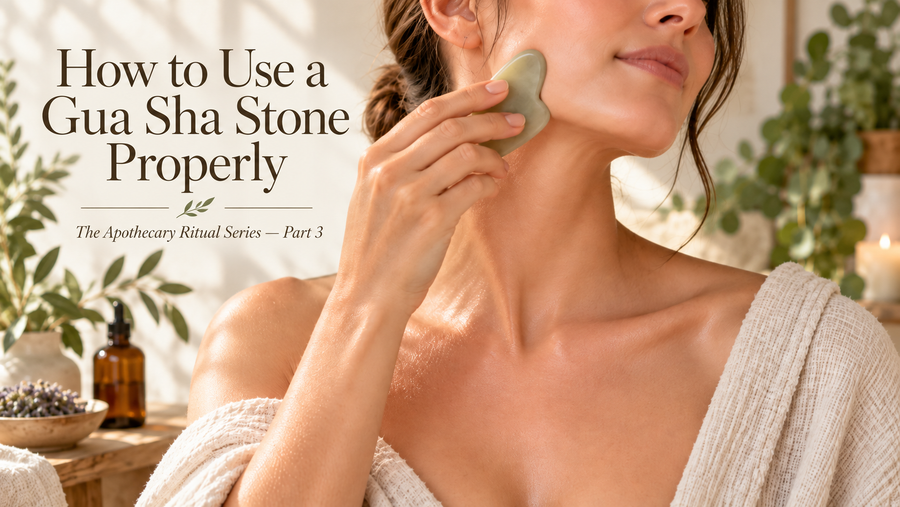
How to Use a Gua Sha Stone Properly: A Complete Facial Guide
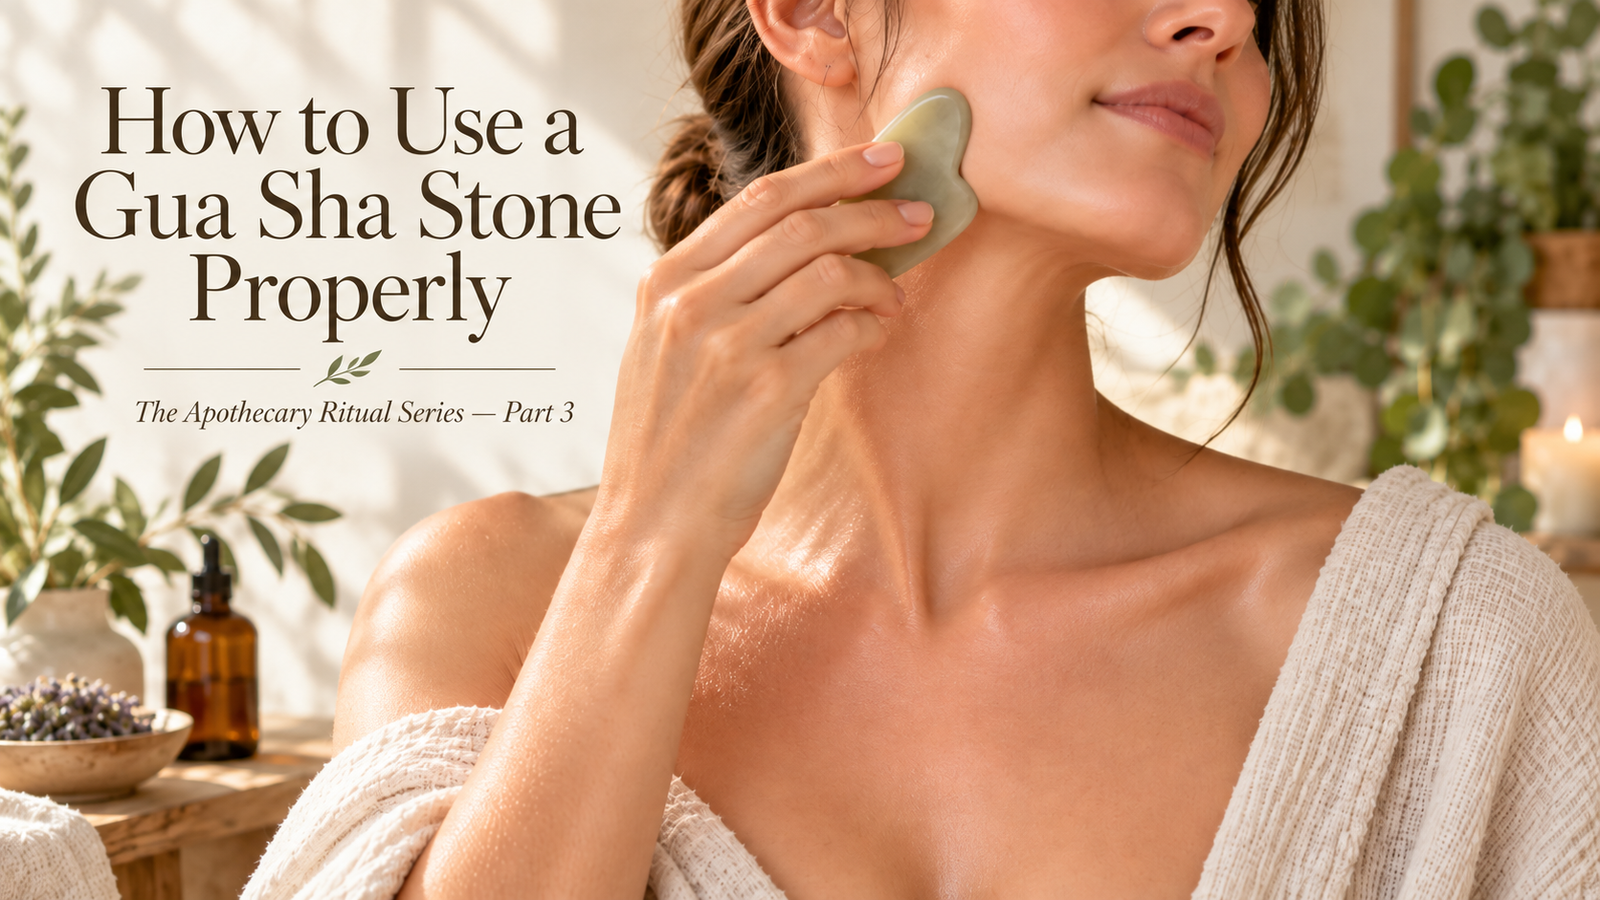
How to Use a Gua Sha Stone Properly: A Complete Facial Guide
The Apothecary Ritual Series — Part 3
Facial gua sha has become one of the most recognizable self-care rituals in modern skincare.
But many social-media demonstrations make one major mistake:
They use far too much pressure.
A facial gua sha ritual should feel slow, soothing and gentle.
You should not be aggressively scraping your face.
Welcome to Part 3 of The Apothecary Ritual Series by Natalie’s Naturals Apothecary.
What Is Gua Sha?
Gua sha has roots in traditional Chinese medicine.
Traditional body gua sha and today's popular cosmetic facial gua sha are related practices, but they are not identical.
Traditional therapeutic gua sha may use substantially different techniques and should be learned from an appropriately trained practitioner.
Modern at-home facial gua sha generally involves using a smooth-edged tool to glide gently across lubricated skin.
People most commonly use facial gua sha as part of a relaxing skincare ritual, facial massage practice and temporary de-puffing routine.
What Kind of Gua Sha Tool Should You Use?
Gua sha tools are available in many materials, including:
Jade.
Rose quartz.
Bian stone.
Stainless steel.
Other smooth stone or composite materials.
The material is less important than choosing a tool that is:
Smooth.
Comfortable to hold.
Easy to clean.
Free of chips or cracks.
Never drag a chipped or damaged stone over your face.
Always Start With Clean Skin
Wash your hands.
Clean your face.
Clean your gua sha tool.
Then apply enough skincare product to create comfortable glide.
You can use an appropriate:
Facial oil.
Serum with sufficient slip.
Moisturizer.
Facial balm.
The goal is for the tool to move smoothly without pulling your skin.
Never Gua Sha Completely Dry Skin
This is one of the most important rules.
Your gua sha stone should glide.
If the skin bunches up, drags or pulls beneath your tool, you need more slip.
Aggressive friction defeats the purpose of a gentle facial ritual.
How Should You Hold the Gua Sha Stone?
Another common mistake is holding the tool almost perpendicular to the face.
Instead, keep the tool relatively flat against your skin.
You want a broad portion of the stone making contact with your face.
Think:
Flat and gliding — not vertical and digging.
How Much Pressure Should You Use?
Use light pressure.
Particularly around the eyes.
Facial gua sha shouldn't hurt.
It shouldn't leave you bruised.
It shouldn't feel like you're scraping your face.
If your skin becomes painful, extremely red or irritated, stop.
More pressure does not equal better results.
Begin With the Neck
Before moving directly to your face, start along the neck.
Place the broad edge of your tool against the side of your neck.
Gently glide downward toward the collarbone.
Use approximately 3 to 5 slow passes.
Repeat on the other side.
Avoid forceful pressure on the front of the throat.
Step 1: Jawline
Place the curved or notched portion of your tool near the center of your chin.
Keep it relatively flat.
Slowly glide outward along your jaw toward your ear.
Think:
Chin → Jaw → Ear
Repeat approximately 3 to 5 times.
Switch sides.
Step 2: Lower Cheeks
Place the tool near the corner of your mouth or lower cheek.
Slowly glide outward toward the ear.
Keep your pressure light and even.
Repeat 3 to 5 times.
Step 3: Cheekbones
Position the tool beside your nose.
Slowly glide outward across the cheek toward the temple.
Follow your natural facial contours.
Don't aggressively push underneath your cheekbone.
Smooth movement is enough.
Step 4: Under the Eyes
The under-eye area deserves your lightest touch.
Use a small smooth edge of your stone.
Begin toward the inner under-eye area and very gently glide outward toward the temple.
Only a few feather-light passes are necessary.
Never repeatedly scrape underneath your eyes.
If your skin pulls, add more slip.
Step 5: Eyebrows
Position the curved edge toward the inner eyebrow.
Follow the natural shape of your brow toward the temple.
Many people find this area especially relaxing when they carry tension around the forehead and eyes.
Repeat 3 to 5 gentle passes.
Step 6: Forehead
You can use two different movements here.
Begin immediately above your eyebrows and slowly glide upward toward your hairline.
Or begin closer to the center of the forehead and glide outward toward your temple.
Divide the forehead into sections instead of rapidly rubbing the tool back and forth.
Step 7: Finish Along the Neck
After completing the face, finish by moving gently from the area near your ears downward along the sides of your neck toward the collarbones.
Take a few slow breaths.
Your skin should feel comfortable and relaxed.
The Basic Facial Gua Sha Pattern
The easiest way to remember the routine is:
Center of Face → Outward
Then:
Sides of Neck → Down Toward Collarbone
For example:
Chin → Ear.
Mouth → Ear.
Nose → Temple.
Inner brow → Temple.
Forehead → Hairline or temples.
Ear area → Down the neck.
Keep every movement slow.
How Many Passes Should You Do?
Approximately 3 to 5 gentle passes per section is plenty for a simple facial ritual.
You do not need to perform dozens of repetitions.
Gua sha is a practice where slowing down usually serves you better than doing more.
How Often Can You Use Gua Sha?
Frequency depends on how your skin responds.
Some people enjoy using their gua sha tool several times per week.
Others use it as part of a short daily facial massage routine.
If your skin begins feeling irritated, tender or overly sensitive, decrease the frequency.
Always prioritize your skin barrier over maintaining a rigid routine.
What Can Facial Gua Sha Help With?
People commonly use facial gua sha for:
Relaxation.
Facial massage.
Temporary de-puffing.
Temporarily stimulating local circulation.
Relieving the sensation of facial muscle tension.
Creating a slower, more intentional skincare ritual.
Research into many dramatic cosmetic gua sha claims is still limited.
Facial gua sha cannot permanently reshape your skull or fundamentally alter your bone structure.
Be cautious of extreme before-and-after claims online.
Gua Sha and Facial Oils
Facial gua sha pairs beautifully with an appropriate facial oil because the oil can provide the glide necessary to move the tool comfortably.
You don't need to saturate your face.
Begin with a small amount and add more only if your skin begins to tug.
Your oil should complement your skin type and skincare routine.
Cleaning Your Gua Sha Stone
A clean tool matters.
After using your gua sha stone, clean it according to the care recommendations for its material.
Allow it to dry completely before storing it.
Avoid sharing facial tools unless they have been appropriately cleaned.
If your stone cracks or chips, replace it rather than continuing to use it.
When Should You Avoid Facial Gua Sha?
Do not use your stone directly over:
Open wounds.
Sunburn.
Active skin infections.
Severely inflamed skin.
Painful cystic acne lesions.
Fresh surgical incisions.
Areas that haven't healed from recent cosmetic procedures.
Speak with your medical or cosmetic provider before resuming facial massage after treatments such as injections, facial surgery, laser procedures, microneedling or other procedures that temporarily affect the skin or underlying tissue.
People taking blood-thinning medication or who bruise unusually easily should also speak with an appropriate healthcare professional before beginning aggressive massage techniques.
Facial Gua Sha Should Never Be Painful
Pain is not a sign that you're getting a better result.
If your gua sha ritual consistently leaves you sore or bruised, your pressure is too aggressive.
Think of facial gua sha as:
Glide — don't scrape.
Massage — don't force.
Slow down — don't rush.
Create Your Gua Sha Ritual
A simple routine can look like:
Cleanse → Apply Facial Oil → Neck → Jaw → Cheeks → Eyes → Brows → Forehead → Neck
You don't need a complicated routine.
The ritual itself can be part of the benefit.
Take a few minutes.
Put your phone down.
Breathe slowly.
Give your skincare time to become an intentional part of your day.
Complete The Apothecary Ritual Series
Part 1: How to Perform Self-Lymphatic Drainage Massage
Learn the fundamentals of gentle self-massage, including pressure, direction and important safety precautions.
Part 2: How to Dry Brush Your Body Properly
Learn the appropriate brushing direction, pressure and aftercare for a simple body-exfoliation ritual.
Part 3: How to Use a Gua Sha Stone Properly
You're here.
From the Apothecary
Turn your facial massage into a slow botanical ritual by pairing your gua sha tool with an appropriate facial oil or nourishing botanical skincare product.
Your stone should glide comfortably across the skin without tugging.
Explore Natalie’s Naturals Apothecary →
Educational Disclaimer: This article is intended for general skincare and wellness education and is not medical advice or treatment. Traditional therapeutic gua sha and medical lymphatic techniques should be performed or taught by appropriately qualified professionals. Consult your healthcare or skincare provider if you have a medical condition, active skin disorder, recent cosmetic procedure or concerns about whether facial massage is appropriate for you.